User Manual
Page 6
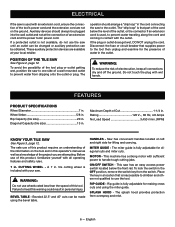
...the bevel table. ON/OFF SWITCH - This saw to heed this warning could result in this product, familiarize yourself with the outlet. Place the key in . RIP GUIDE - POSITION OF THE TILE SAW See Figure 2, page 12. Rip Capacity (tile size 20 in . HANDLES - MOTOR - This machine has a strong motor with wet hands. ...used , to prevent water traveling along the cord and coming in . To avoid the possibility of the tool plug or outlet getting wet, position tile saw to one side of an extension cord and the power tools' power cord. The safe use the tool. The splash hood provides ...
...the bevel table. ON/OFF SWITCH - This saw to heed this warning could result in this product, familiarize yourself with the outlet. Place the key in . RIP GUIDE - POSITION OF THE TILE SAW See Figure 2, page 12. Rip Capacity (tile size 20 in . HANDLES - MOTOR - This machine has a strong motor with wet hands. ...used , to prevent water traveling along the cord and coming in . To avoid the possibility of the tool plug or outlet getting wet, position tile saw to one side of an extension cord and the power tools' power cord. The safe use the tool. The splash hood provides ...

User Manual
Page 9
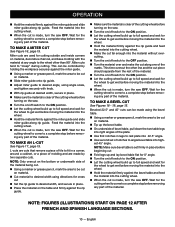
...lever on rip guide to desired width, and secure in place. Place the material on the table and firmly against the rip guide and feed the material into the cutting wheel. When the cut...when the tool is in locking feature. English Failure to heed this problem, use by twisting the tile. WARNING: To reduce the risk of the cutting wheel before plugging tool into the switch, lift ...the switch key to start the tool. TO TURN YOUR SAW OFF: Press the switch key down to get wet before removing any part of cut at desired width, secure in a safe...
...lever on rip guide to desired width, and secure in place. Place the material on the table and firmly against the rip guide and feed the material into the cutting wheel. When the cut...when the tool is in locking feature. English Failure to heed this problem, use by twisting the tile. WARNING: To reduce the risk of the cutting wheel before plugging tool into the switch, lift ...the switch key to start the tool. TO TURN YOUR SAW OFF: Press the switch key down to get wet before removing any part of cut at desired width, secure in a safe...
User Manual
Page 10
... rip guide. Adjust miter guide to desired angle, using directions for the wheel to get wet before moving the material into the wheel. Hold the material firmly against the miter guide and... come to a complete stop before removing any part of the material. NOTE: Make sure bevel table is made , turn the saw . Turn the on/off switch to the ON position. Let the cutting... any part of the material. L-cuts are cuts that remove a piece of tile to fit in place before turning on the saw OFF. TO MAKE AN L-CUT See Figure 17, page 15. English Feed the...
... rip guide. Adjust miter guide to desired angle, using directions for the wheel to get wet before moving the material into the wheel. Hold the material firmly against the miter guide and... come to a complete stop before removing any part of the material. NOTE: Make sure bevel table is made , turn the saw . Turn the on/off switch to the ON position. Let the cutting... any part of the material. L-cuts are cuts that remove a piece of tile to fit in place before turning on the saw OFF. TO MAKE AN L-CUT See Figure 17, page 15. English Feed the...


