Product Manual
Page 2
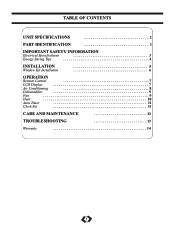
TABLE OF CONTENTS UNIT SPECIFICATIONS 2 PART IDENTIFICATION 3 IMPORTANT SAFETY INFORMATION Electrical Specifications 3 Energy Saving Tips 4 INSTALLATION Window Kit Installation 5 6 OPERATION Remote Control 7 LCD Display 7 Air Conditioning 8 Dehumidifier 9 Fan 9 Heat 10 Auto Timer 11 Clock Set 11 CARE AND MAINTENANCE 12 TROUBLESHOOTING 13 Warranty 14 1
TABLE OF CONTENTS UNIT SPECIFICATIONS 2 PART IDENTIFICATION 3 IMPORTANT SAFETY INFORMATION Electrical Specifications 3 Energy Saving Tips 4 INSTALLATION Window Kit Installation 5 6 OPERATION Remote Control 7 LCD Display 7 Air Conditioning 8 Dehumidifier 9 Fan 9 Heat 10 Auto Timer 11 Clock Set 11 CARE AND MAINTENANCE 12 TROUBLESHOOTING 13 Warranty 14 1
Product Manual
Page 11
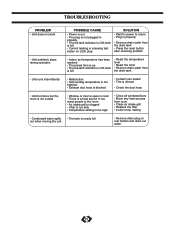
... • Remove drain plug on LCDI plug SOLUTION • Wait for power to return • Plug in properly • The full-tank indicator is ON; TROUBLESHOOTING PROBLEM • Unit does not work POSSIBLE CAUSE • Power is out • The plug is not plugged in properly • Remove drain water from...
... • Remove drain plug on LCDI plug SOLUTION • Wait for power to return • Plug in properly • The full-tank indicator is ON; TROUBLESHOOTING PROBLEM • Unit does not work POSSIBLE CAUSE • Power is out • The plug is not plugged in properly • Remove drain water from...
